How to use WaiverSign Events to create a signature list
Signature Lists can be generated and exported to CSV by using the Events feature of WaiverSign. Navigate to 'Create & Edit Events' in WaiverSign to create your event, and then to 'Get Signing Link' to create a link to your Waiver + Event
Using the Events feature of WaiverSign, you can simplify the process of collecting signatures when working with large groups (schools, family reunions, churches, businesses, etc). Simply create an Event for the group, and send a link out to the group leader or coordinator of the group. The WaiverSign event can be used as a roster of who has signed the document.
For example, if you were working with a High School on an upcoming Field Trip, you could do the following:
- Create the Event in WaiverSign/Resmark for that Field Trip -- optional, add an event coordinator. The event coordinator will receive an email whenever anyone signs. In this example, the event coordinator would be one or more people from the School Faculty.

- Create a link to your Event + Document (navigate to 'Get Signing Link')
- Send your newly created Event + Document link to the school faculty, who will then need to distribute it to their students (or the parent/guardian of the student). See sample here.
- All documents signed at the Event + Document link (Created in step 2) will show up in WaiverSign in the "View by Event" section of the application. If you set up a coordinator, the coordinator will receive an email after each signed document is received.
- Create a link to the Signature List (Optional): You can create a direct link to view the names of all signed participants for that event. In WaiverSign, navigate to "View By Event" > Select the event name > View Signature List.
One or more signed documents are required from the Event + Document link before the event will become visible in "View By Event."
The Signature List is visible to anyone with a link to it, so you can send a direct link to the coordinator (or person who is in charge of tracking down all of the students to get signatures). It is not possible to view sensitive information, such as email address, phone number, etc from this link. The link will automatically update the Signature List whenever a new document is signed for this event. See sample here.

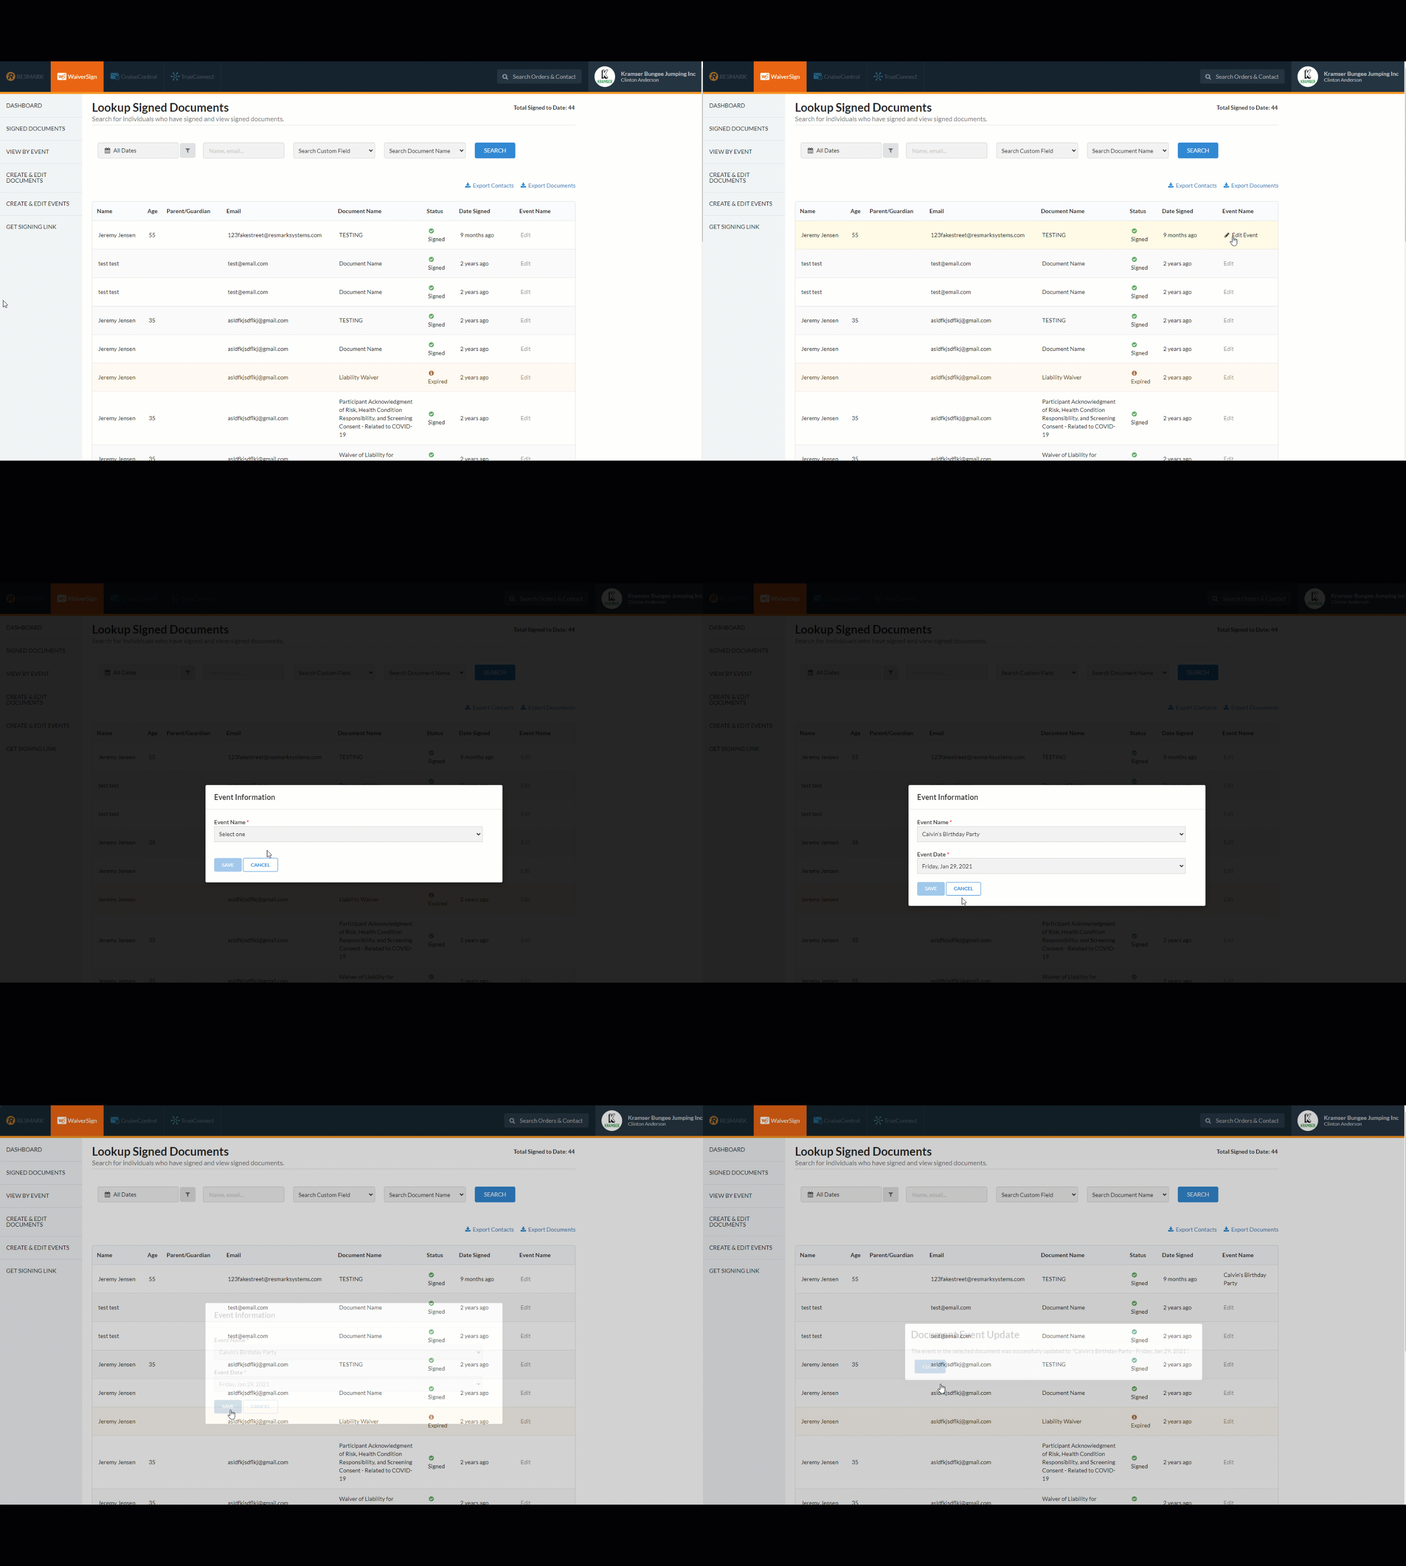
- Forgot to assign a document to an event? No worries! You can now assign completed documents to events through the "Signed Documents" section by using the "Edit" option under "Event Name." This will then move that document into the appropriate signature list.

Updated on: 05/30/2024
Thank you!
